Making a dried flower bouquet is a wonderful way to preserve the beauty of flowers and create a long-lasting arrangement. Here’s a step-by-step guide to help you create your own dried flower bouquet:
Optional: Decorative elements like greenery, seed pods, or feathers
Step-by-Step Guide:
1. Choose Your Flowers
Select flowers that dry well and retain their color and shape. Popular choices include lavender, roses, daisies, statice, hydrangeas, and wheat.
You can mix various types of flowers, grasses, and foliage for texture and variety.
2. Harvest Fresh Flowers
Pick flowers in their prime, when they are fully open but not wilting.
For the best results, harvest flowers in the morning after the dew has dried but before the heat of the day causes them to wilt.
3. Dry the Flowers
Hanging Method: Gather the flowers in small bunches, remove any excess foliage, and tie the stems together with twine or string. Hang them upside down in a warm, dark, and dry area (like a closet or attic). Leave them for 2-4 weeks or until fully dry.
Flat Drying Method: For flowers that don’t dry well hanging (like daisies or tulips), lay them flat on a drying rack or sheet of paper in a cool, dry area.
Silica Gel Drying (Optional): To preserve more delicate flowers like roses or peonies, bury the flowers in silica gel in an airtight container for a quicker drying process.
4. Prepare the Flowers for the Bouquet
Once the flowers are fully dried, remove them from their drying space.
Trim the stems of the flowers to an even length, depending on the size of your bouquet and the height of your vase or container.
Remove any leaves or petals that have dried poorly or are damaged.
5. Arrange the Flowers
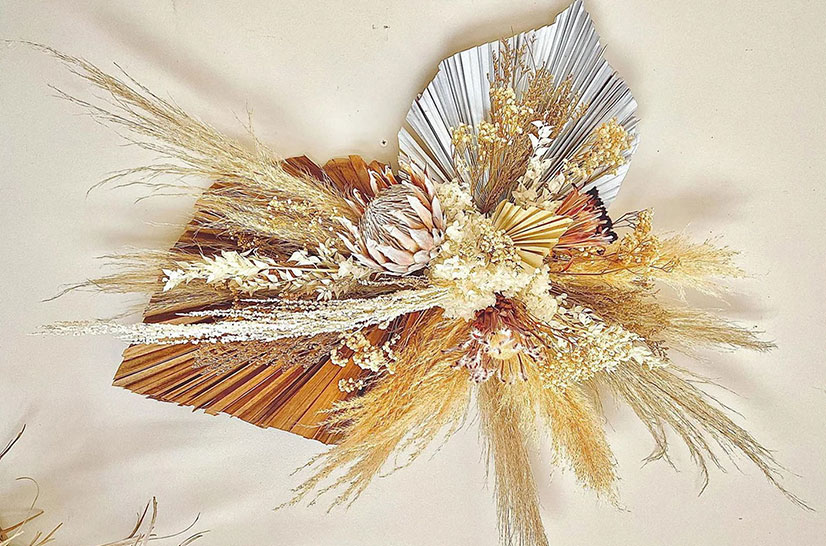
Start by creating a focal point with a large flower, like a rose or sunflower, in the center.
Add smaller flowers, grasses, and fillers around the focal point, arranging them in a circular or cascading shape.
Keep turning the bouquet as you arrange to make sure it looks balanced from all sides.
Adjust the length of the stems to make the bouquet look even and proportionate.
6. Secure the Bouquet
Once you are happy with the arrangement, gather the stems together and tie them with twine or floral wire to secure the bouquet.
If you’re using floral wire, wrap it tightly around the base of the stems and then cover the wire with a decorative ribbon or fabric.
7. Optional: Finish and Display
You can further enhance your bouquet by wrapping the stems with a decorative ribbon or lace for a rustic look.
You can also add small embellishments like dried berries, feathers, or seed pods to make the bouquet more interesting.
Place the bouquet in a vase or display it in a jar. If you’re using a vase, make sure the dried flowers are not exposed to direct sunlight for long periods to preserve their color.
Suggest:
Preservation: If you want to keep the bouquet for a long time, avoid placing it in humid areas. Dried flowers are sensitive to moisture and may mold or fade over time.
Customization: Feel free to use flowers that are meaningful to you or that fit the season (e.g., autumn leaves, dried grasses, etc.).
Storage: If you’re not ready to arrange the dried flowers yet, store them in a cool, dry place away from direct sunlight to prevent fading.
With these simple steps, you’ll create a stunning, long-lasting dried flower bouquet that adds a natural, rustic touch to your home décor and every special occasion.
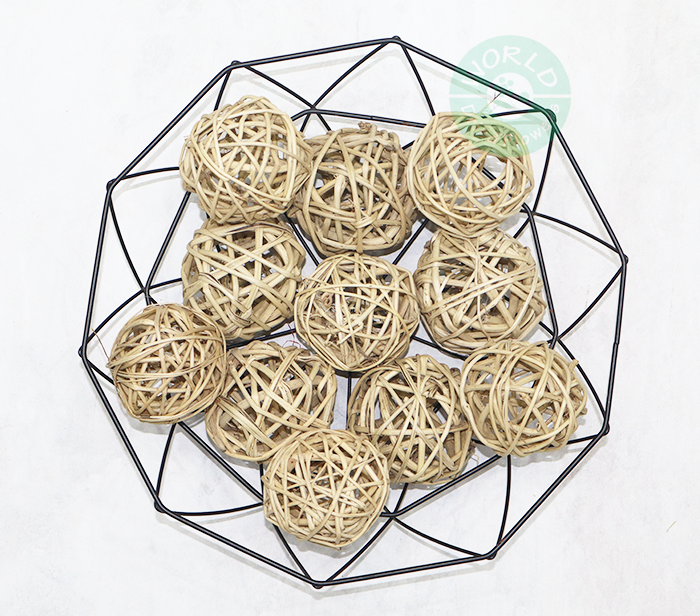 Deco Balls
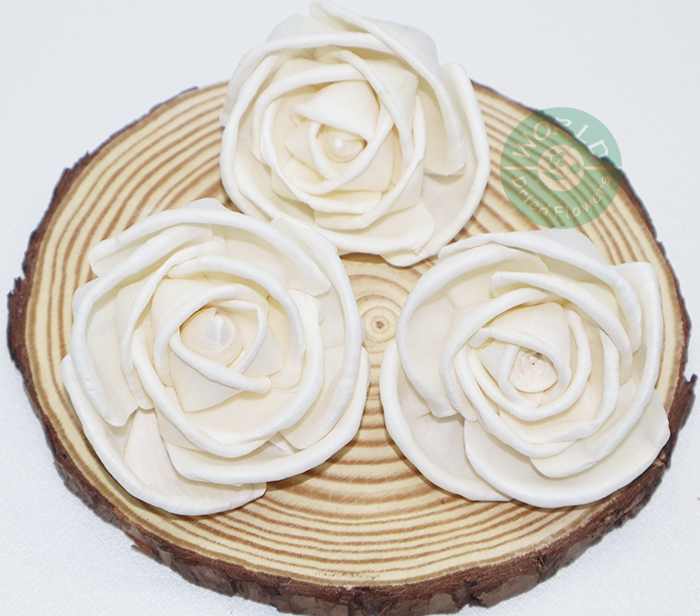 Sola Flowers
 Deco Flowers & Fruits
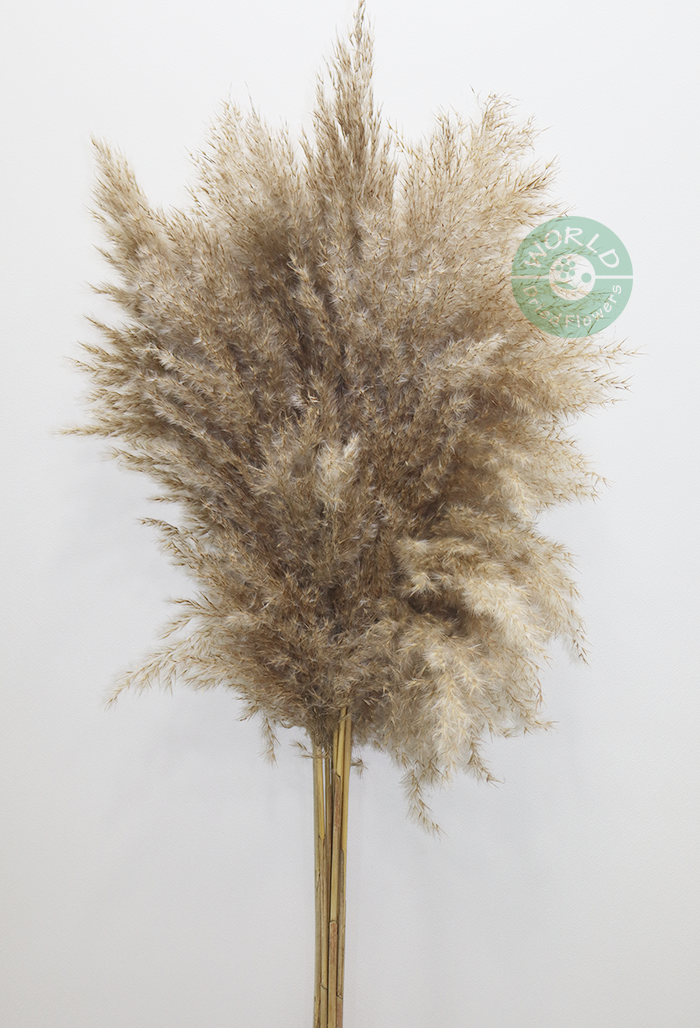 Fillers & Grasses